Starting Small
!
Starting Small: How a Pi-hole Can Kickstart Your Homelab Journey#
Introduction: Taking the First Step#
Starting a homelab is exciting, but it can also feel intimidating. Many people hesitate, believing they need to invest in expensive new hardware or fear they won’t be able to maintain it. The truth? A homelab isn’t about flashy setups—it’s about repurposing what you have, experimenting, and learning as you go.
One of the simplest and most impactful ways to begin your homelab journey is with a tool like Pi-hole, a network-wide ad blocker that doubles as an introduction to the homelab world.
Why the First Step Feels Hard#
Getting started is often the most challenging part of any journey. Here’s why:
- Perceived Upfront Costs: People often think they need to buy new servers or networking gear.
- Fear of Failure: The worry of not being able to manage or maintain the setup.
- Overthinking Complexity: Assuming you need advanced technical knowledge right away.
The key is to start small and think creatively. Instead of buying, repurpose. Instead of aiming for perfection, aim for progress.
Why Pi-hole Is the Perfect First Project#
Pi-hole is a DNS-based ad blocker that stops ads, trackers, and malicious content at the network level. Here’s why it’s an ideal starting point for a homelab:
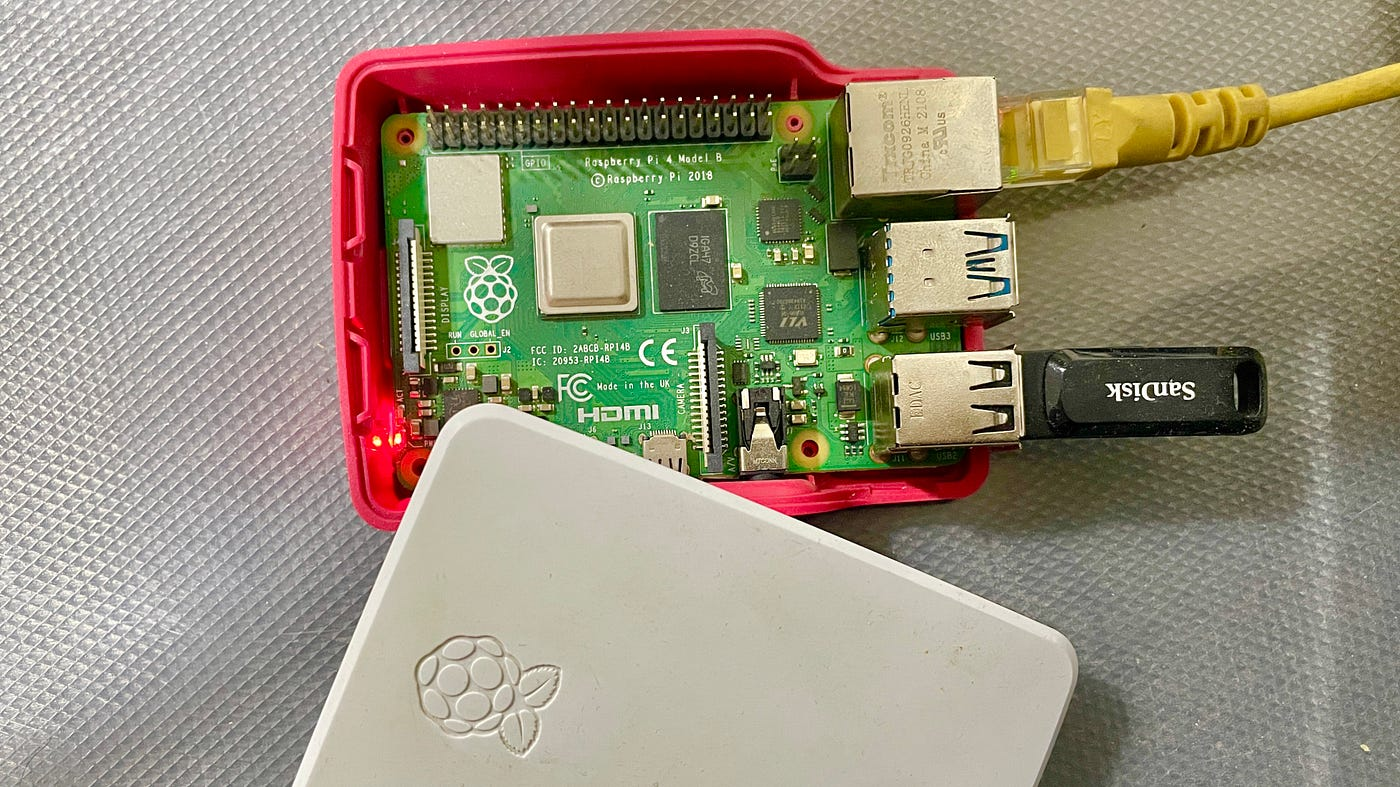
- Minimal Hardware Requirements: All you need is a Raspberry Pi or even an old computer.
- Quick Setup: Pi-hole’s installation process is straightforward, with ample documentation available.
- Immediate Impact: Once running, it improves your network experience by blocking intrusive ads and trackers.
- Learning Opportunity: It introduces you to concepts like DNS, networking, and system monitoring.
Homelab: A Journey, Not a Destination#
A homelab evolves over time. You don’t need to have all the answers or equipment upfront. Here’s how Pi-hole can set the foundation for your journey:
- Experimentation: Running Pi-hole gives you confidence to explore other tools, like a home server or media center.
- Low Cost: Use what you already have—an old laptop, a discarded desktop, or even a virtual machine.
- Purposeful Recycling: Turn e-waste into a valuable part of your homelab.
For example, an old laptop could run Pi-hole alongside other lightweight services, such as a VPN or a Home Assistant instance.
Starting Simple: Ideas for First Steps#
- DNS Blocking with Pi-hole: Install Pi-hole to block ads and trackers.
- Router Tweaks: Use your home router to set Pi-hole as the default DNS server, securing all devices on your network.
- Home Automation: Start exploring home automation with Home Assistant.
- Repurpose Old Hardware: Turn an outdated computer into a basic server or use a Raspberry Pi for projects.
Each of these steps introduces you to fundamental concepts in IT while providing immediate, tangible benefits.
Overcoming Common Myths#
-
“I need to buy expensive gear.”
Not true! Many homelabbers start with old, unused devices. My first “server” was a hand-me-down laptop. -
“It’s too complex for beginners.”
Complexity grows only as you’re ready for it. Starting with Pi-hole or a simple project makes learning manageable. -
“What if I fail?”
Failure is part of the process. Each mistake teaches you something new.
Homelabs Make an Impact#
Even a small setup like Pi-hole can make a big difference:
- Improve network security by blocking malicious domains.
- Speed up your internet experience by reducing ad traffic.
- Gain hands-on experience with concepts like DNS and IP routing.
More importantly, it gives you the confidence to take on bigger challenges in your homelab journey.
Conclusion: Every Journey Starts Small#
Starting a homelab isn’t about having the perfect hardware or grand plans. It’s about taking the first step. Tools like Pi-hole demonstrate that even a minimal setup can have a significant impact, both on your network and your confidence.
So, grab that old laptop or Raspberry Pi collecting dust, and give it a purpose. Your homelab journey begins with a single project—and who knows where it will lead?
Feel free to share your first homelab steps in the comments. Let’s inspire each other to keep building and learning!